Making a Sale
This will show you the end to end process of making a sale.
Adding a Product to the Cart
- To make a POS sale first start by finding your product item you would like to sell.
- Then click on the product item to add it to the cart area.
-
You can add multiple items to the card by clicking on the items needed.

Adjusting Quantities
There are several ways you can adjust the product items quantities to be sold.
-
Clicking on the product item multiple times will increase the product count.

-
Clicking the + or - button on the cart item.

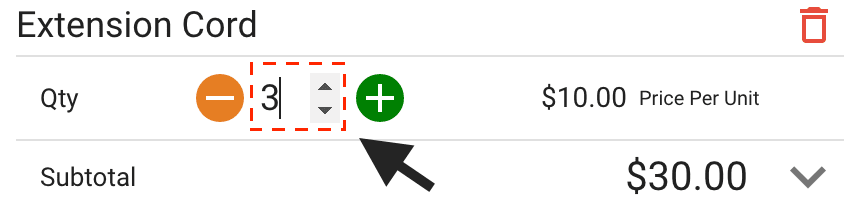
-
Clicking on the quantity field will reveal a numerical text box where you will be able to enter the amount manually.
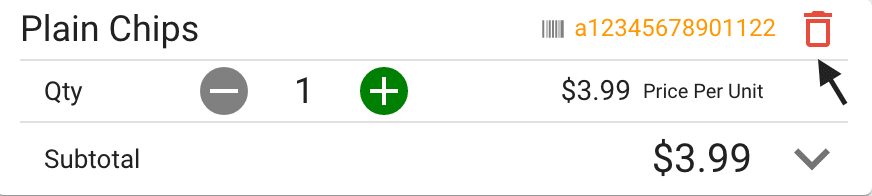
Removing an Item
-
To remove an item from the cart simply click on the trash icon of the product you want to remove.
Line Item Options
A cart item has several options that can be changed such as:
- Line price override.
- Line price discount.
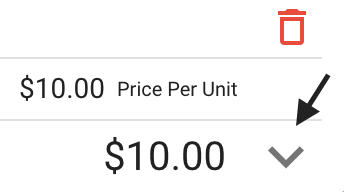
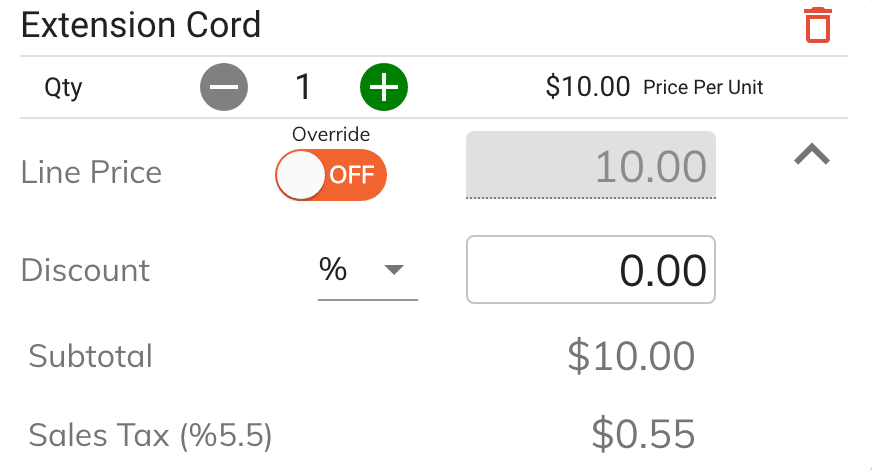
Cart Item Options
-
To access the cart item options expand it by clicking on the down arrow located in the bottom right corner of the cart item.
-
Once the options are expanded you will be able to override the line price and or add a line price discount.
-
Overridden line price and line discounts will only be applied to the selected line item.
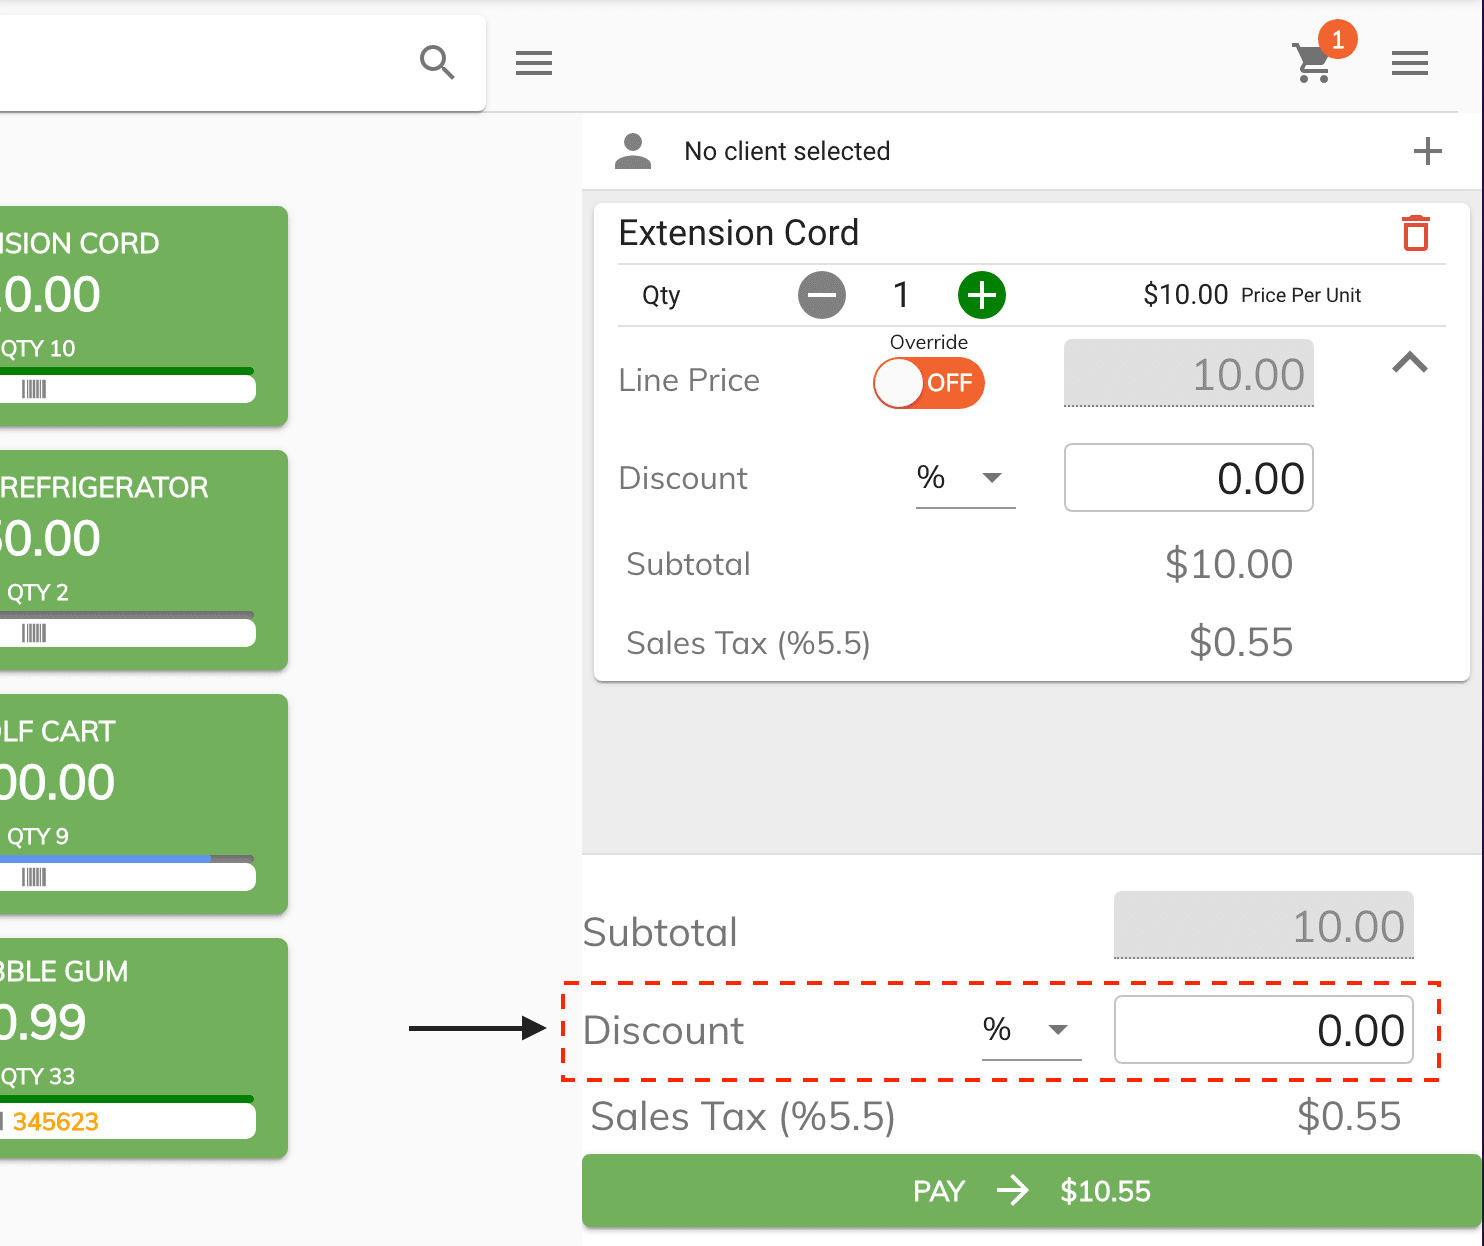
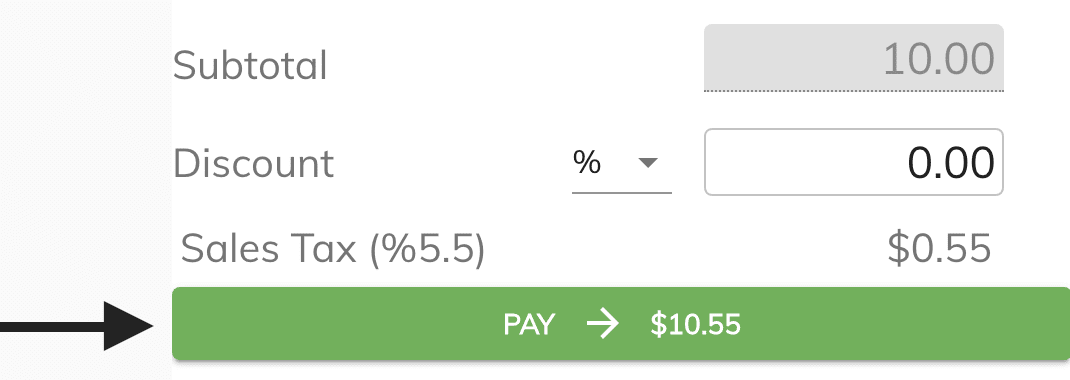
Adding a Transaction Discount
A transactional discount is different that a line discount. A discount applied to the transaction level will be applied onto the cart subtotal.
-
To add a transaction discount simply enter your discount amount in the Discount text box located in the cart total area.
Adding a Client to a Sale
Adding a client to the sale is optional however, by adding one you will be able to do the following:
- Have the client's information on the final receipt.
- Charge their Online credit card.
- Send them an E-receipt Not Implemented Yet
Add the Client
- To add the client to the sale first start by selecting the +
Find a Clienticon located in the top corner of the cart area.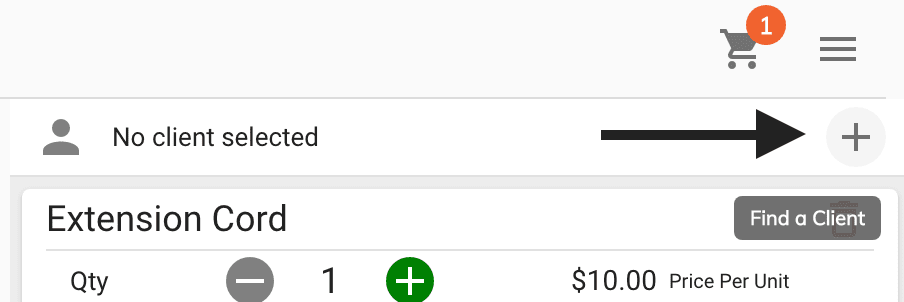
- Then select your client form the client grid or add a new client if needed.
- Once your client is selected from the grid click on the Use Selected Client button located in the bottom left corner of the screen.
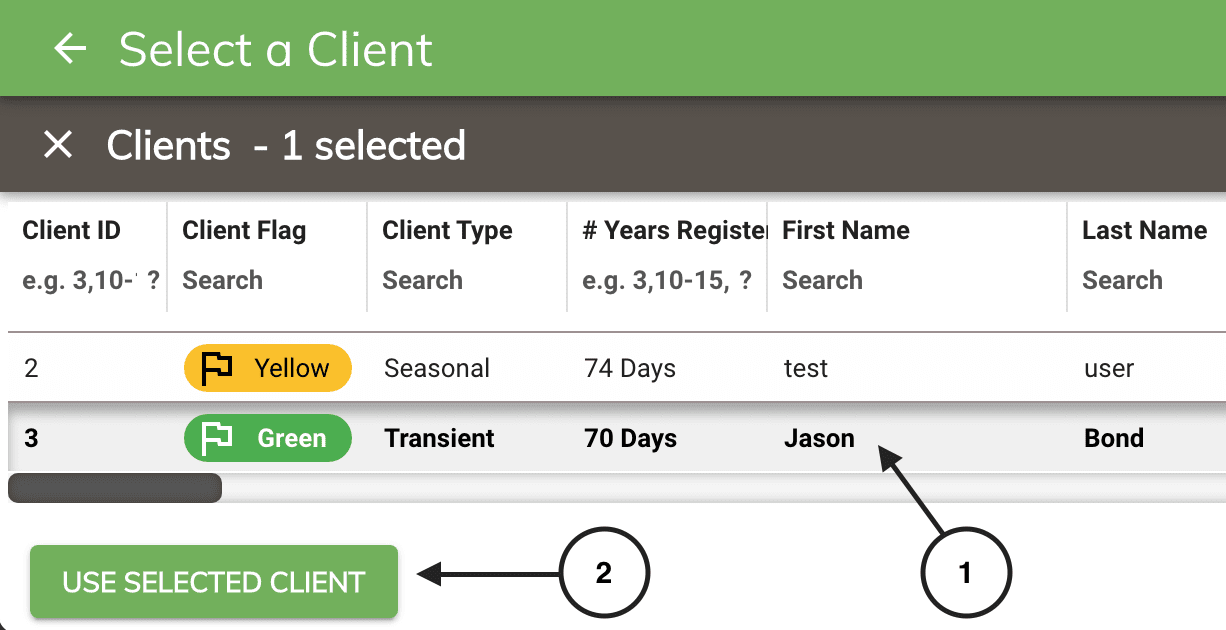
- The you will see the selected client at the top of your cart.
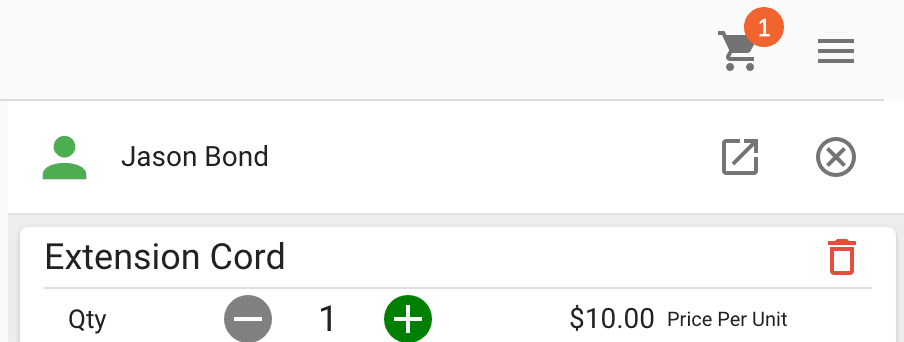
Completing the Sale
Once you have your cart items added to your cart that you would like to sell select the Pay button located at the bottom of the cart to proceed to the payments.
Payments
The payment area allows you to add multiple/split payments.
-
To add a payment method select the payment type from the menu.
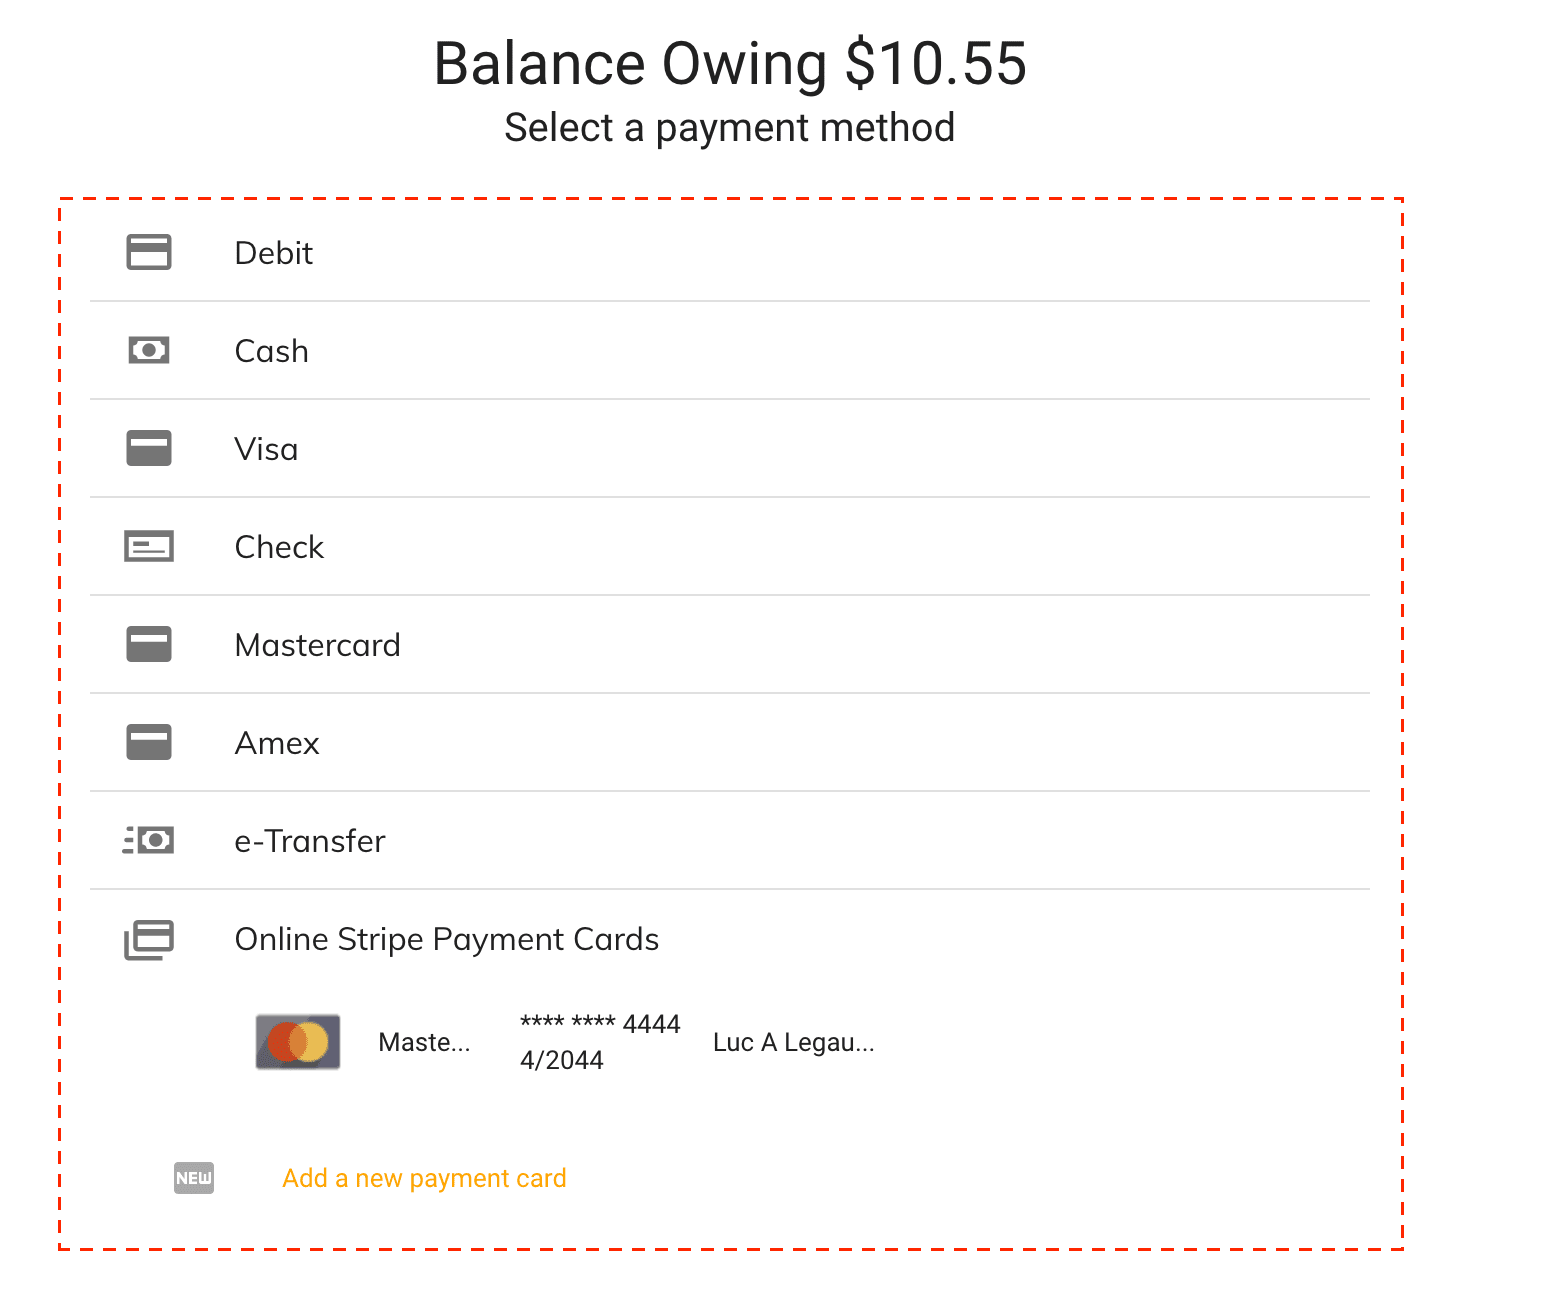
-
This will add a payment entry to the window allowing you to enter the payment amount for the selected payment method.
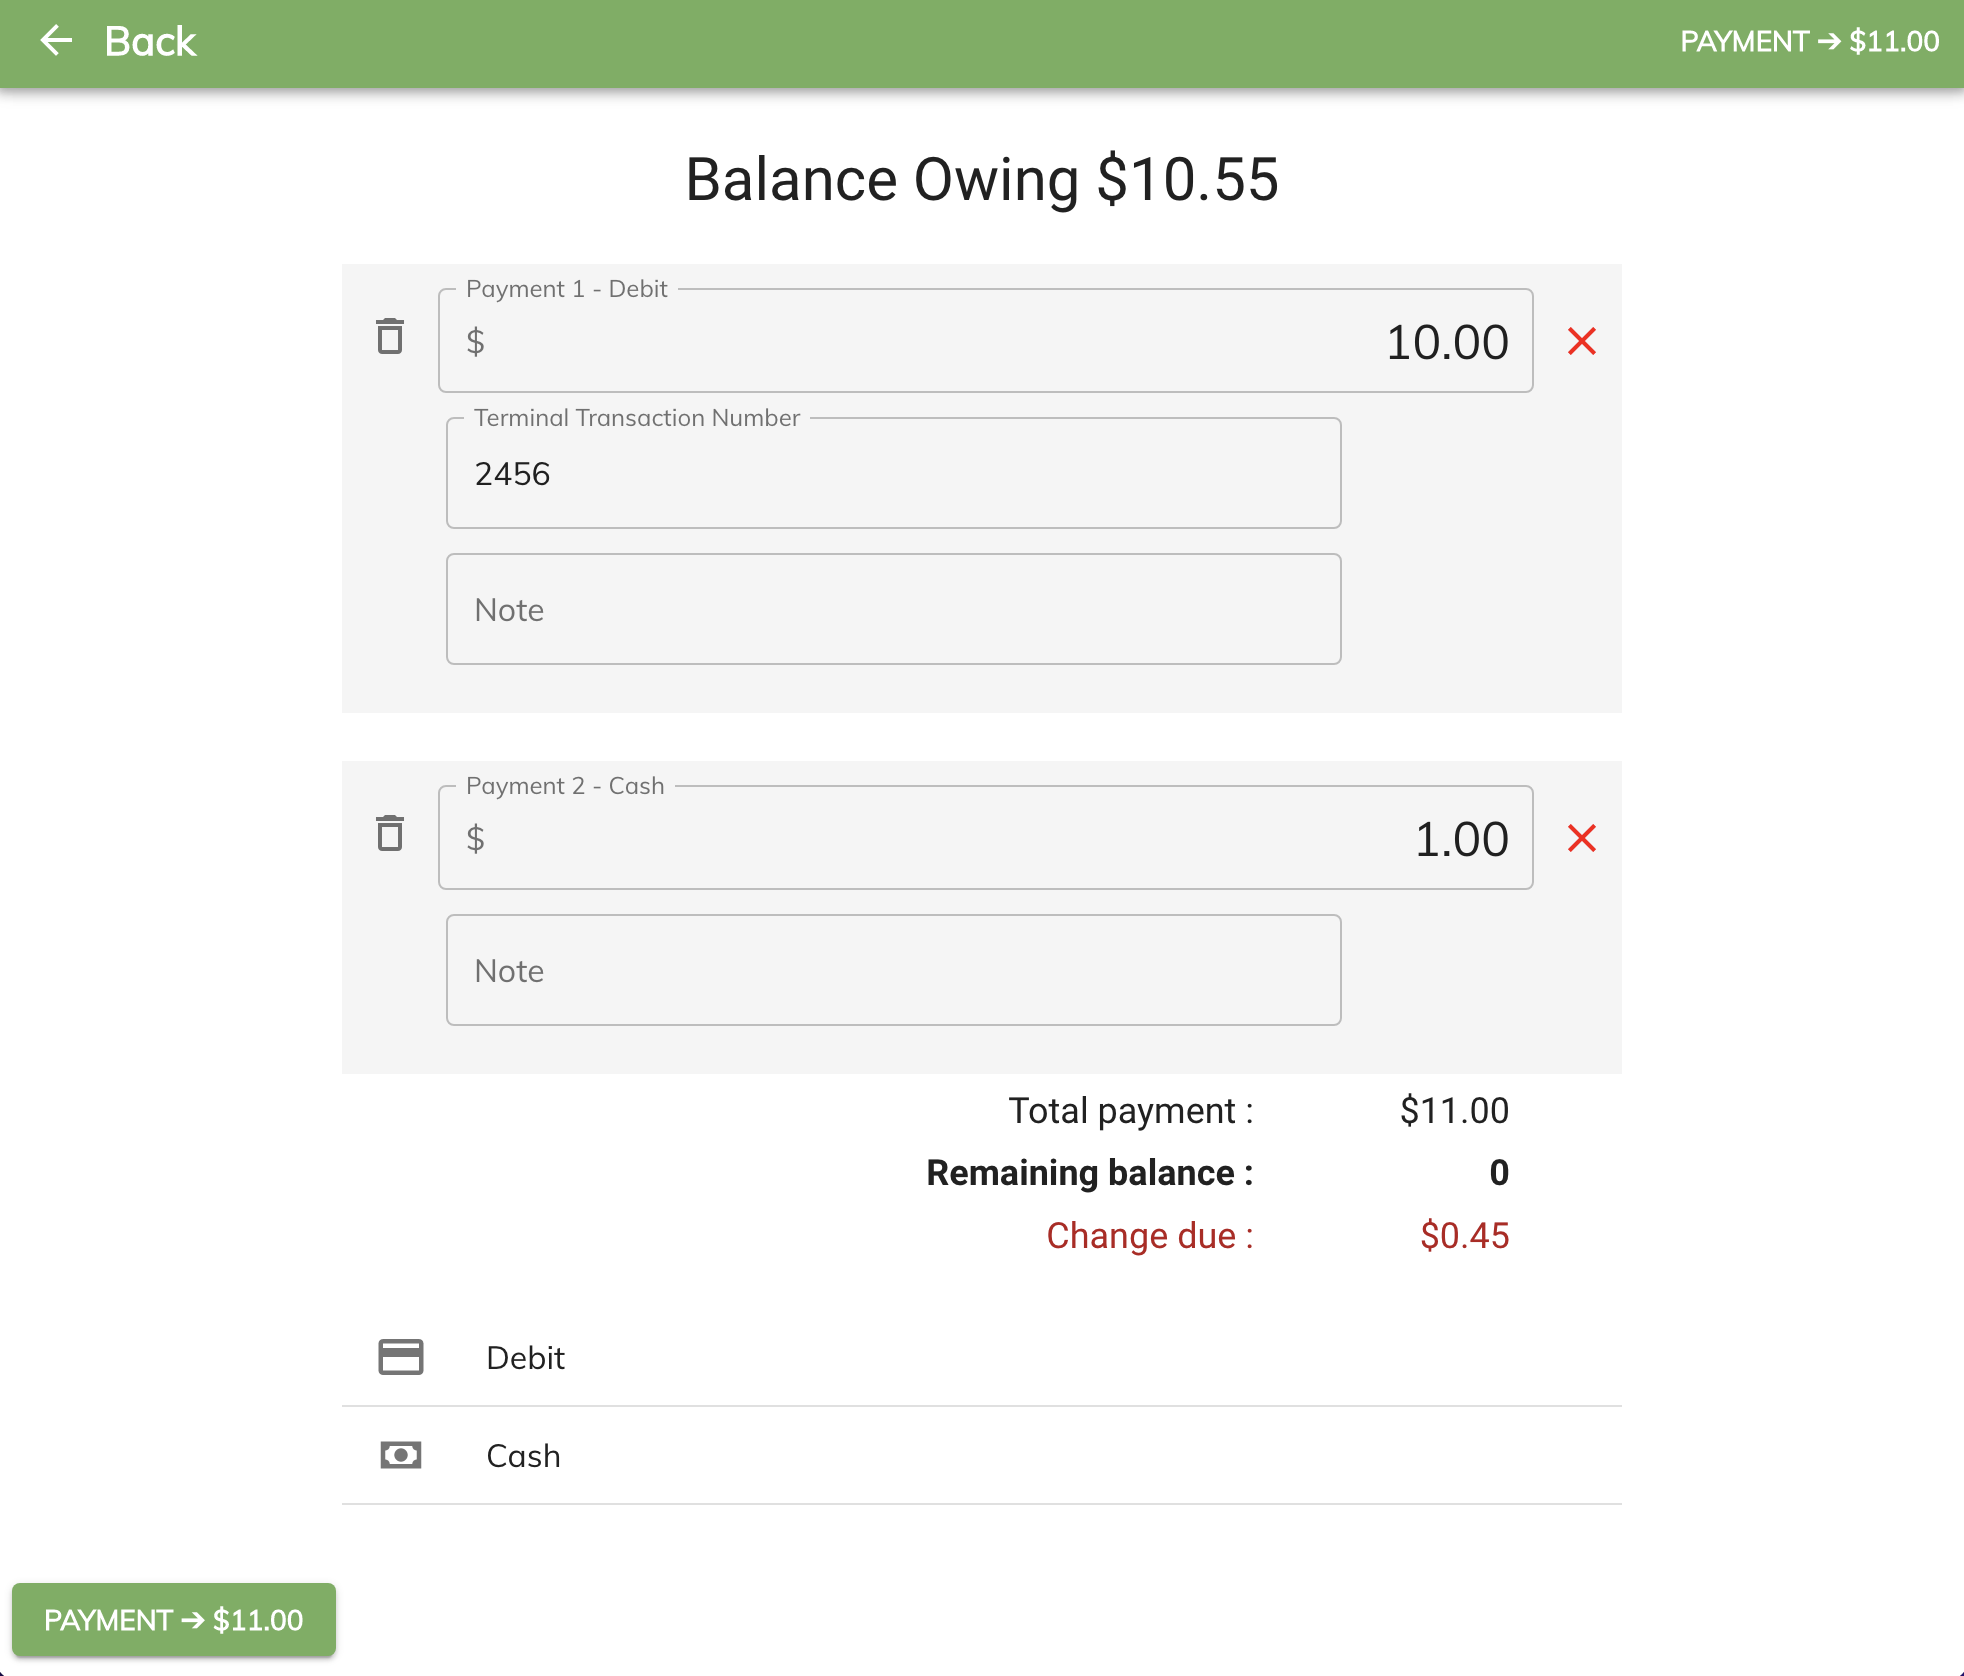
Note
Over payment amounts are not allowed except for the Cash payment method.
-
A change due amount will be indicated below the Total Payment under the payment section.
- To complete the payment click on the Payment button located in the top right corner and or the bottom left corner of the screen.
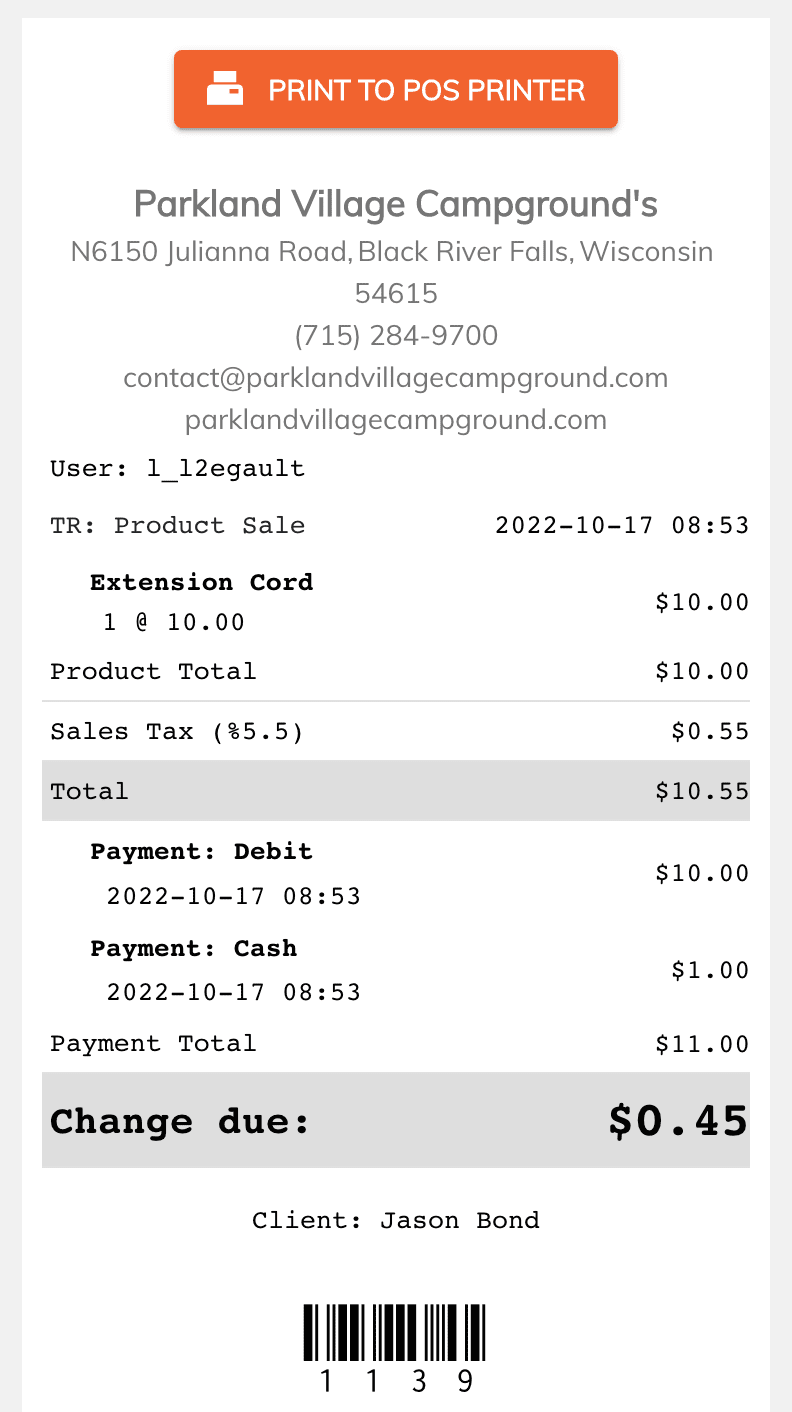
- Once the payment process completes you will be presented with an electronic version of the receipt.
-
If a POS thermal printer has been installed and configured your receipt will be printed out.
-
And your cash register will open.