Emailing Seasonal Clients
The following will show you how you can send email(s) to your seasonal/transient client(s). This is useful when you need to quickly communicate with your clients that have a reservation at your campground.
Info
The following steps will use the reservation filters capabilities in order to weed out the reservations you are interested in emailing. To learn more on searching and filtering reservations visit the Search Filters page for additional information.
Note
The following steps will only work if you've already entered your clients email address on their profiles.
Filtering
So there's a number of ways you could do this however the idea here is to filter in the reservations that we want to email so we can select them and email them. So let's go to the reservation panel and filter our reservations.
- Got to the Reservation panel.
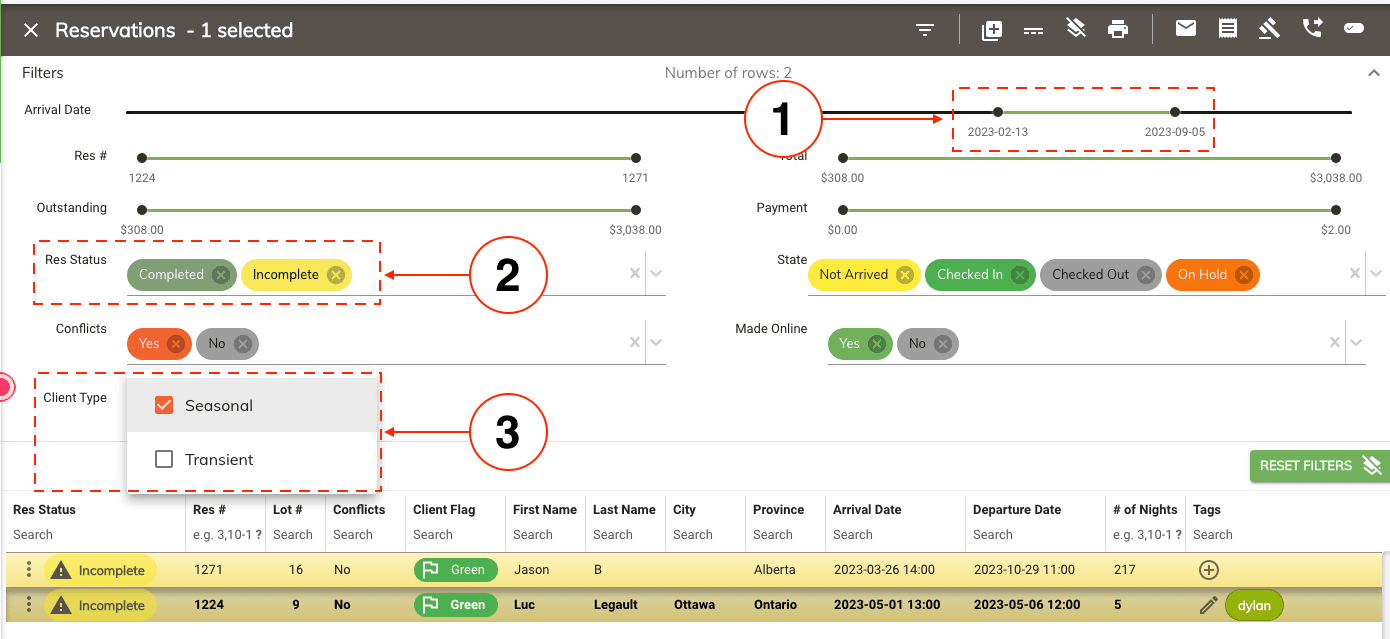
- Expand the filters located above the reservation rows by clicking on the row called Number of rows: ##.
- Select the Arrival and Departure dates in which the reservation can be found in. Example: your seasonal dates for next year.
- Now select the Completed and Incomplete reservations states. This prevents us from seeing cancelled and expired reservations.
- Expand the client types and check off the one you are interested in. Example: if your interested in your seasonal clients then only check off the Seasonal client type.
Reservation Selection
Once you've filtered your reservations you'll need to select all of them in the grid.
-
Selecting several reservation only.
- You can select several reservations from the grid by holding down the Ctrl key and clicking the reservations that you need.
-
Highlighting all the reservations.
- Select the first reservation form the grid.
- Scroll down to the last reservation in the grid.
- Hold down the Shift key on your keyboard and click on the last reservation. OR
- Ctrl+a on your keyboard will also highlight all your reservations that are currently in the grid.
Sending the Email
-
Next click on the email button located in the top right corner of the bar.

-
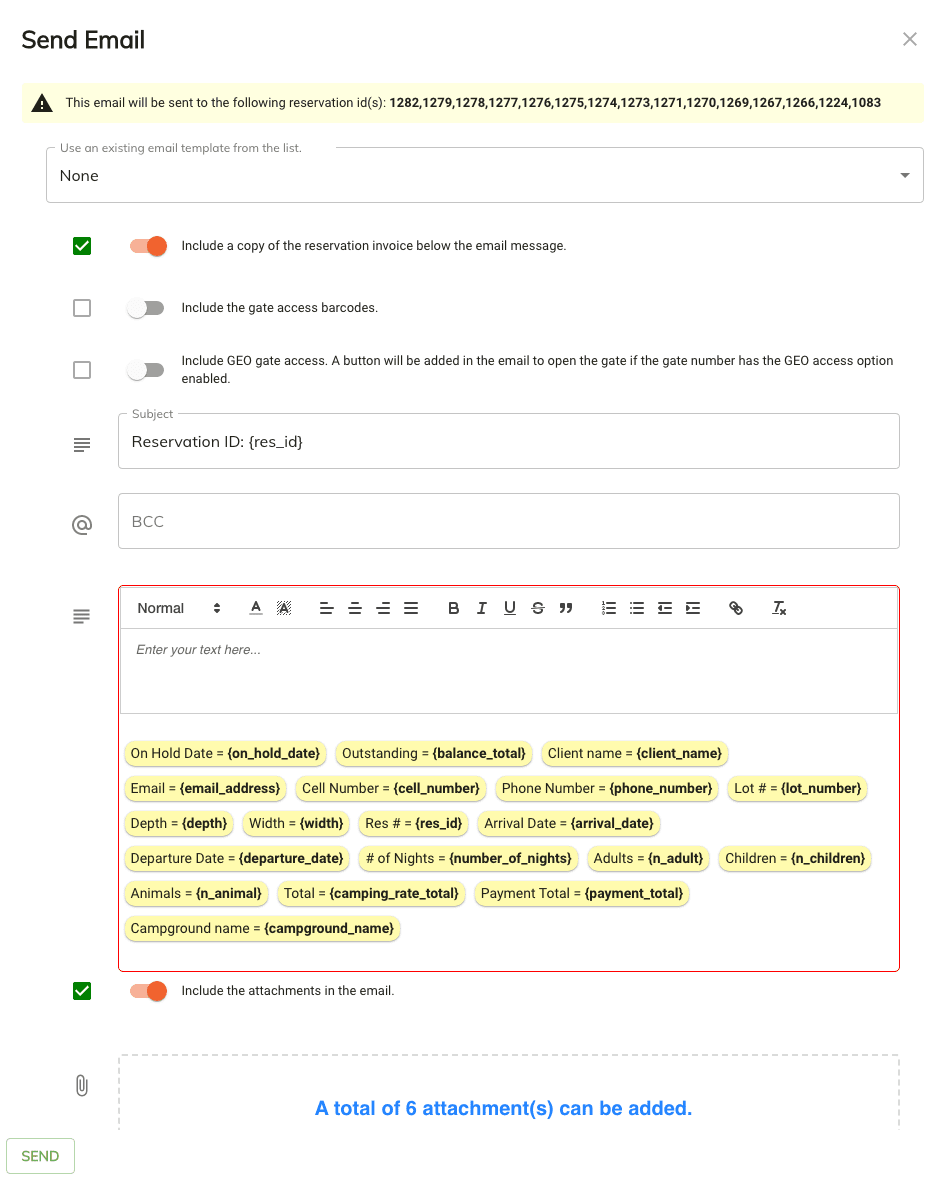
This will open up the email window where you will be able to personalize your email before sending it out.
- Once you are ready to send the email click on the Send button located in the bottom left corner to send out your email.
Note
At the top of your email you will see the reservation id's that have been selected from our previous step. This will send the email to your clients that are associated to each of those reservations.
-
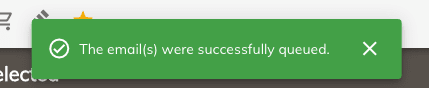
The system will queue the emails in the background and automatically send them for your.